
One of the most tedious parts of cooking for me was cleaning up afterward, so I learned a few ticks as I go along. One of the main things I taught myself is to clean up as I cook, that way by the time I am done cooking the kitchen would already be clean and only requires minimal work — usually washing what I share the meal in and the pots. Blending is no different.
Many people love preparing meals with their blender but hate having to pull the blender apart afterward to clean it before storing it away. If you are one of those who is tired of spending precious time dismantling your blender for cleaning, well — good news! You can have your blended clean and ready for storing in 30 seconds! And to think, this only requires three things — hot water, dish soap, and, of course, your blender.
Cleaning Your Blender in 30 Seconds — Guaranteed!
First, pour hot water into your blender until it’s about halfway full. Add a few drops of dish soap into the blender. Put the lid back on and blend it for 30 seconds. That’s it- your blender is now clean!
I will confess, I’m not the only one privy to this information, it has actually been used for years now, only it has taken on more traction for the past few years. As technology improves — dare I say it!? So does cleaning! This method has been widely shared on media platforms and has become incredibly popular among TikTok users. So why not join the trend and make the end result of your blending as easy and enjoyable as the meal you just blended?
But while this quick cleaning method should work for most blenders, it’s important to check your blender’s manual or instructions to make sure it’s safe to use this cleaning method. Some blenders may require additional cleaning or taking them apart to ensure a thorough cleaning. It’s always a good idea to follow the manufacturer’s instructions for cleaning and maintenance to avoid damage to your blender.
Cleaning Your Blender the Not-So-Easy Way
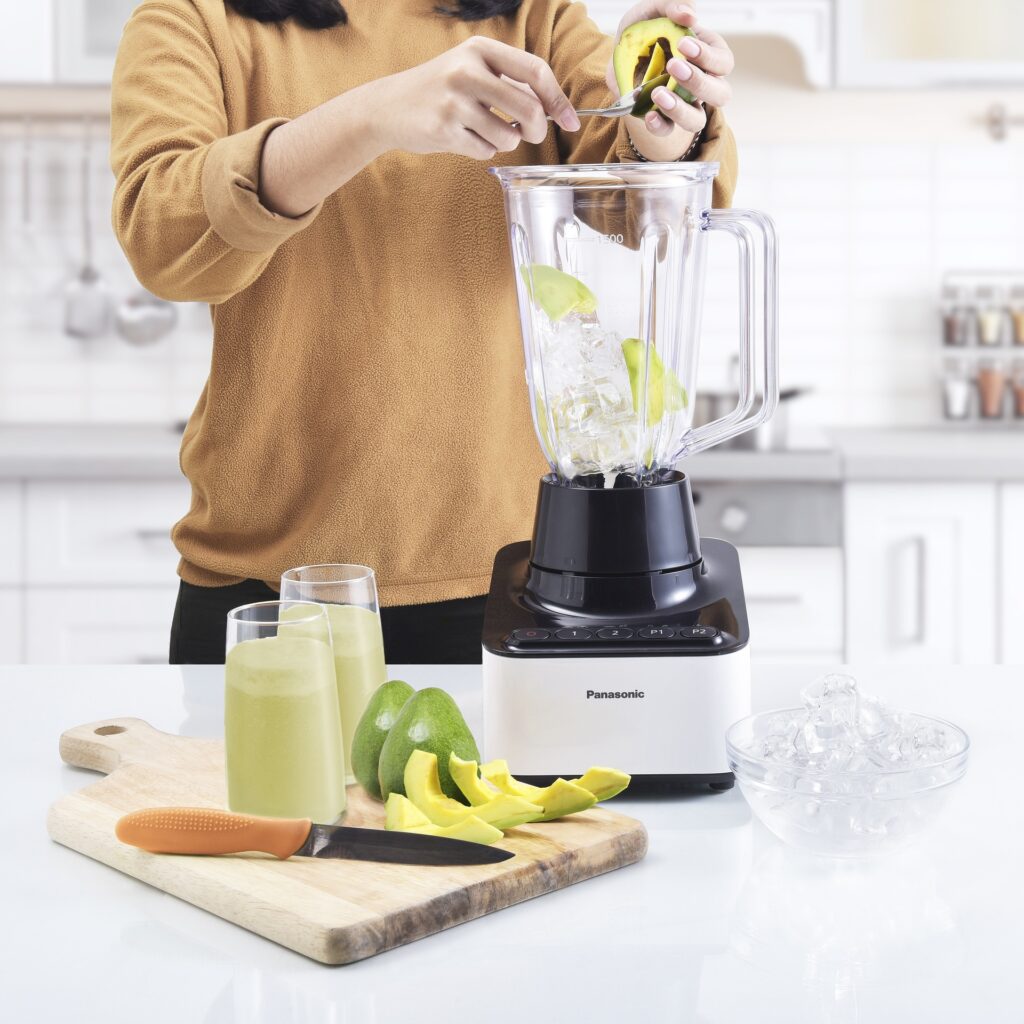
We already know that blending is a great way to make healthy and delicious smoothies, soups, and sauces, along with a host of other delicious dishes. However, once the blending is done, you still have that final step, before or after you have enjoyed your meal (me? I like doing it before so I don’t have to think about it while I relax to eat) — Cleaning up. It can be daunting based on how you do it so here are some tips to help you clean up your kitchen and blender quickly after blending.
Cleaning Your Blender
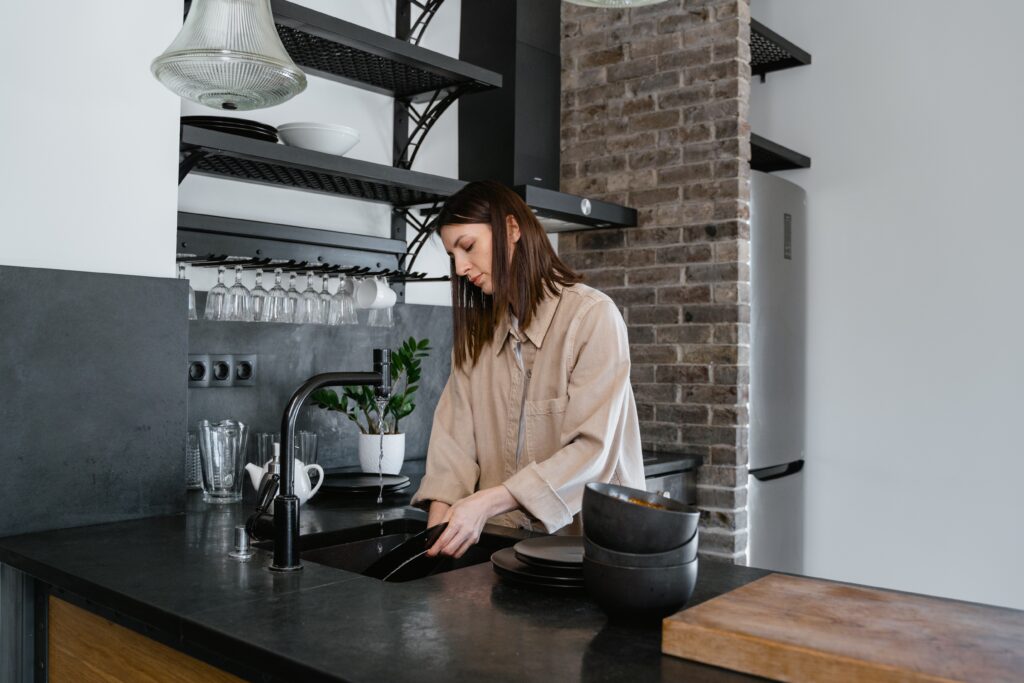
If you have decided to go the long way in cleaning your blender or to follow the manufactures instruction, then you will need to disconnect the blender from the power source to avoid any accidents. If your blender has a cord, unplug it from the wall socket. If it’s cordless, make sure it’s turned off. Remove the blender from the base. Most blenders have a removable jug or cup that can be separated from the blender base. Remove that and any attachments such as blades, lids, or chopper units to clean them separately. Rinse the blender jug and blades. Rinse your blender jug with warm water, making sure to remove all traces of anything that you just blended. If your blender cup or blades are dishwasher-safe, you can place them in your dishwasher for thorough cleaning. Then it’s time to clean the blender base. Wipe the blender base with a damp cloth, making sure to remove any spills or splatters.
Cleaning Up Your Workspace
When cleaning up your workspace the first step is usually to clean up any spills or splatters you may have caused while you blended. If you accidentally spilled some of the ingredients, use a clean cloth or kitchen towel to soak up the spill. You can also use a soft bristle brush to remove any small particles that may have stuck to your countertop or blender base. Then wash any utensils or vessels used during blending. Don’t forget to wash your measuring cup, spoon, or anything else you may have used while preparing your ingredients. If it’s a dishwasher-safe utensil, toss it in the dishwasher.
Once everything is clean and dry, put your blender back together. Make sure to reattach the blades and any other removable attachments. The blades are never usually hard to detach and attach, but make sure to be careful to prevent getting cut.
Cleaning up your kitchen after blending is essential to keep your workspace clean, hygienic, and ready for another delicious creation. The process is not complicated, but taking these steps can save you time and effort, so try them out!

What’s the Importance of Cleaning Your Blender After Use
By cleaning your blender after each use, you ensure that it is always clean, sanitized, and in top working condition. Not only does this help you prepare healthy and safe food, but it also extends your blender’s lifespan. But imagine being so hungry and wanting to whip up a quick meal in minutes, only to find that you now have to spend all that time cleaning out that dried-up food from your blender from the last time you used it before you can start your meal. So it is always best to clean up immediately afterward to prevent all this hassle on an empty stomach!