
The blade is one of the most important components of your blender. In fact, it is known as the heart of this well-needed and necessary piece of kitchen appliance. Without blades, it is almost impossible to get anything blended. It is, therefore, very important to keep your blades in tip-top conditions.
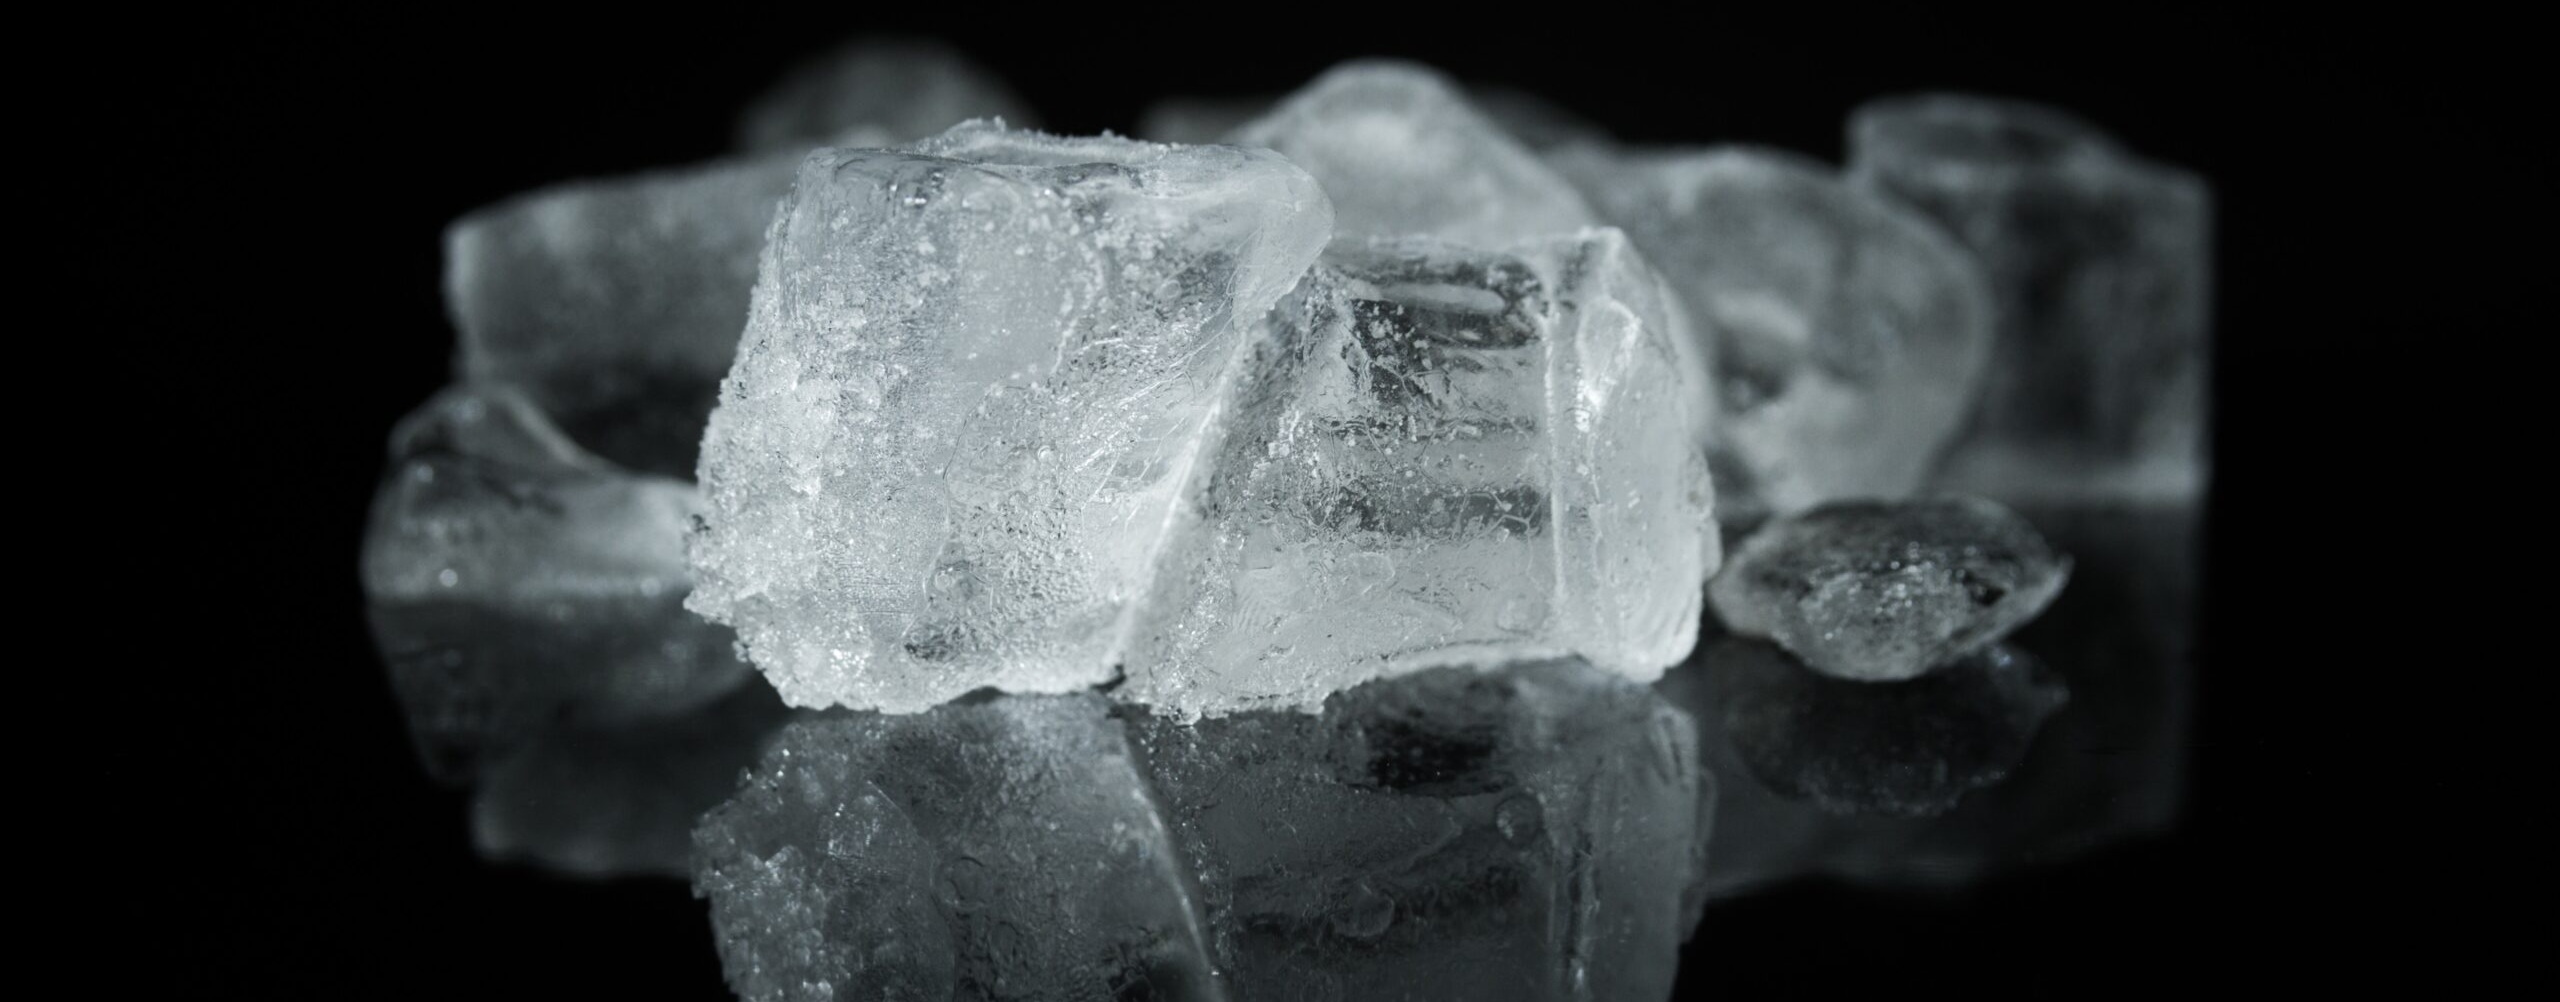
There are persons who feel that throwing some ice cubes into your blender while blending is one way of sharpening the blades and keeping them in good condition. This is in no way close to the truth and may actually result in achieving the very opposite — dulling of the blades. In fact, the damage that ice cubes have on a blender blade will depend on the sturdiness of the blades themselves and how much ice you blend.
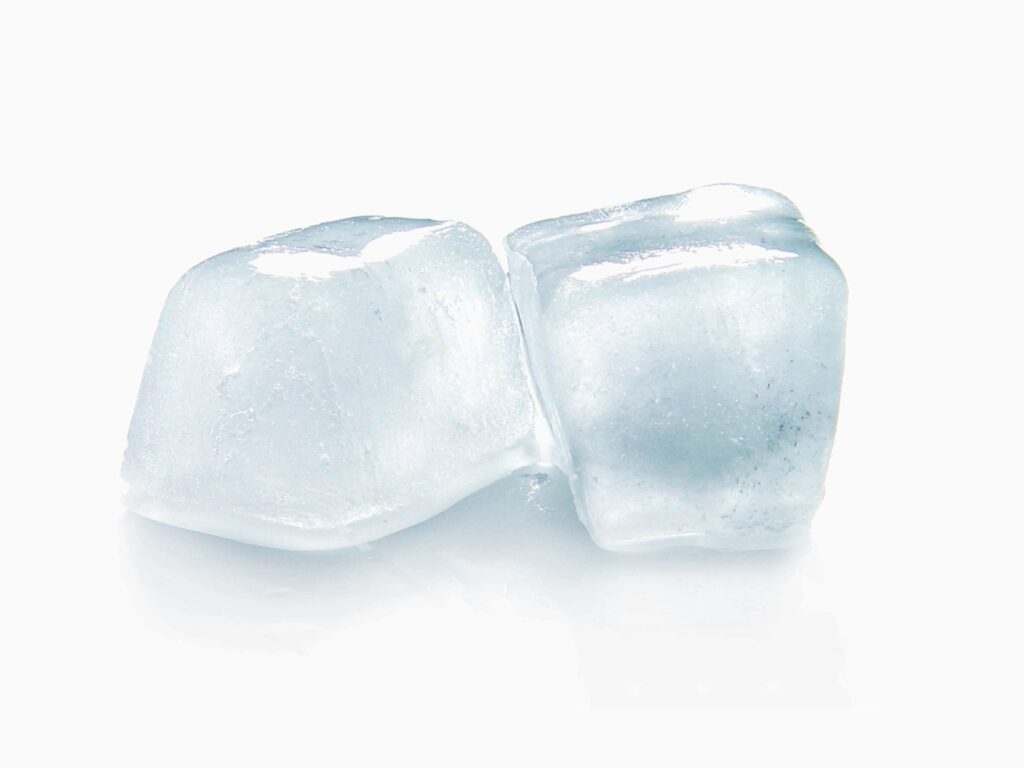
Based on the hardness of ice cubes, there is no way that they could result in the sharpening of your blades. Simply put, ice cubes do not sharpen blender blades in any way.
The weight and hardness of ice cubes can cause the blades of your blender to bend and could, over time — depending on how often you blend using ice, do some serious damage. But if you do like to have that cold sloth, it is best to blend small amounts of ice into your drink at a time. After all, the reason you got your blender, to begin with, was to blend your favorite drink, smoothies, and those ever-so-often experimental recipes. Many of which require that you blend ice in with the ingredients.
So, deciding not to use your blender to crush ice because of the danger it poses, would be defeating the purpose of getting one to begin with. Blenders make delicious smoothies worth taking the risks for, and if you have a good sturdy blender you won’t even need to worry too much about dulling the blades as they are made specifically for that reason.
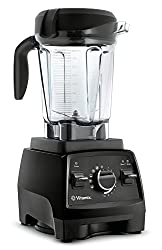
In fact, many blenders are made to crush ice. Some will even do a better job than others, so it will all depend on which one you own or plan to own. Blenders like the Vitamix A3500 Ascent Series Smart Blender, the Ninja Foodi Cold & Hot Blender, Ninja Professional Plus Blender with Auto-iQ, Ninja Foodi Power Nutri DUO, and the Ninja Professional Blender 1000 are just a few of the blenders that are very good when it comes to crushing ice and not damaging their blades. Using a regular blender, not specifically designed to crush ice could, however, even result in burning out your appliance as it puts a great deal of pressure on the motor.
Blenders are among the top appliances that people invest in when it comes to kitchenware. After all, they are very multi-functional. They will do the jobs of making smoothies and sauces, pureeing, making milkshakes, making cocktails, making frappuccino, assisting with emulsification, working as a grinder, dissolving solids, crushing foods, grinding spices, and making sauces. With such a wide array of work, you can see why it is very necessary to have good working blades.
While some blenders nowadays do come with specially designed dull blades based on the material they are made of and are actually designed to function that way, the ones that are designed to be sharp should indeed remain sharp. So while ice cannot sharpen your blades, what can?
Can You Actually Sharpen Blender Blades?
The blender blade is made of stainless steel and can be sharpened the same way you would the blade of a knife. However, it takes skill to do so without harming yourself and is in fact not recommended that you try it yourself, especially without the right tools. The blade comprises two metal components that come together at the bottom of your blender to produce a cross shape. It is attached to the engine at the bottom of the blender, usually with a screw to keep it in place.
To sharpen your blade, you would need to remove it from the appliance so it would be easier to handle. So if you have a blender with dull blades, don’t throw it out or opt to buy a new one since it can indeed be sharpened, just not with ice! As mentioned before, ice cubes or ice chunks do not sharpen the blades. Because of the hardness of ice cubes, one can be led to believe this theory, but it is an incorrect belief. The truth is that they are still a long way from doing so. Ice cubes do not affect the sharpness of blender blades.
Do Blender Blades Require Sharpening?
Whether or not your blender blade requires sharpening is dependent on how often you use your blender, what you use it to blend, and if you have been blending in cubes or chunks of ice on a regular basis.
The harder the ingredient you put in, the more likely it will be for your blades to become dull. That stands to reason then that if you blend large amounts of ice each time you blend then it will dull the blades. Age can also cause your blades to become dull if the appliance has been used frequently over the years because like anything else wear and tear can take place.
How to Sharpen Your Blender Blades?
There are a few steps to follow if you have realized that your blended food has not been blended as smoothly as it used to and that dull blades are the cause.
1. Unplug and Disassemble the Blender
Before attempting to sharpen your blender blade, ensure that the appliance is first unplugged. In fact, one of the safety requirements is to ensure that after each use you unplug the blender base from the wall to avoid any electrical dangers. This is especially true if you have small children around. Unplugging the unit before you decide to work on it will also prevent it from accidentally turning on while you are handling the blades. We don’t have to tell you what could happen should this occur.
2. Unscrew the Blender Jar From the Blender Base
Next, unscrew the blender jar from the blender base. Usually, this appliance would have come with a manual that would have given you instructions on how this is done. If you have had your blender for some time this is something that you may very well now be familiar with as you would have done this ever so often while you cleaned the unit.
In fact, this is one of the first things you would have learned about your blender. However, simply give the jar a counterclockwise twist to screw it away from the blender container and this will separate it from the base.
3. Unscrew the Blades from the Blender Jar
Now that you have removed the jar from the base, it is time to remove the blades from the jar. This can be a bit tricky depending on the brand blender that you do have. For regular kitchen blenders, this task should not be complex and may only require the removal of a rubber seal or ring to get the blades loosened.
It is strongly recommended that you wear a pair of work gloves (not rubber) before attempting this task because even though the blades may be too dull to give your meal the desired effect you are looking for, it is not too dull to cause damage to your fingers and hand. Ensure that you place the parts you removed together so you do not lose any. If you are unable to remove the blades, consult the manual.
4. Clean the Blades Before Sharpening
Before you start the task of filing your blades to the desired sharpness, ensure that you wash them with soap and water using a sponge or soft cloth to remove any stuck on particles. In doing this you will prevent an uneven file to its surface as the sharpening stone will have the food particles to contend with. You can either submerge the blades in the sink, or you can scrub the blades over the sink — whichever one you choose.
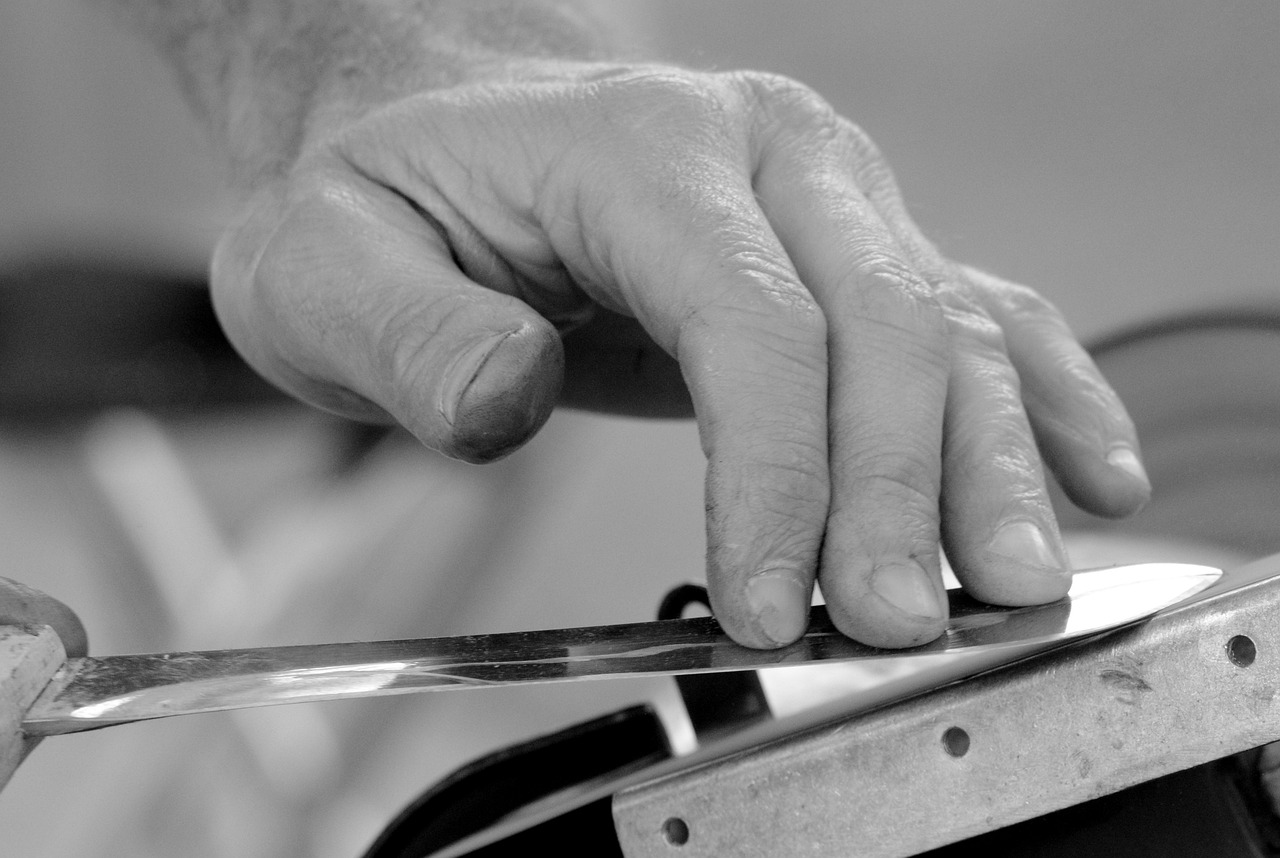
Start by gently running the sharpening stone along one of the blades’ edges. For the best sharpening, run the stone in a way that keeps it to the exact angle of the blender blades. Try to spend an equal amount of time on each blade so you don’t over-sharpen one and leave the other half sharpened. Equal time should ensure an equal amount of sharpness. Hold the blades away from you to keep from getting nicked.
Once you’re finished with one side of the blade, turn it over and sharpen the other side. Repeat the sharpening process for each blade until they are to your liking.
6. Reassemble Your Blender
Once you sharpen all the blades to your liking, it’s time to put the blender back together. Ensure that you give the blades a good soapy washing before putting them back together. You can also take the opportunity to wash your rubber seal, ring, and jar before assembling. The next step is to towel dry. Put your blender blades back in the base and screw them on the blender jug. Be extra careful since they are now sharper than before.
7. Test Your Newly Sharpened Blades
Feel free to test your newly sharpened blades by blending something tasty. Maybe try a similar ingredient to the last one you did when you realized your blades weren’t operating properly. This will give you a feel of the before and after results. But you can be sure it’ll slice like new and make your blending experience so much more enjoyable.
Using Eggshells to Sharpen Your Blender Blades
While I have personally never tried this method, I have been told that blending eggshells and water in your blender is a good way of sharpening the blades. So if you want to give it a try by all means go ahead! This will be ideal for those who feel it is too tedious or dangerous to pull apart your blades and use the sharpening stone.
All you need to do is save your eggshells in the freezer by putting them in a freezer bag until you are ready to sharpen those blades. When you are ready, drop a handful of eggshells into your blender container, add enough water to cover the shells, and start the machine. Allow it to run until the eggshells are completely pulverized. When this is done simply toss the liquid into the garbage or strain them and add them to your compost bin to make them even more helpful. Do not dispose of it down the drain as this can cause clogging.
After you have completed your eggshell blending, wash out your blender with soapy water to remove all remaining eggshell participles. Test your blender to see if you have achieved your required goal of sharpness.
Keeping Your Blades Functioning Well
Now that you are aware that your blender blades can become dull, it is best to do what you can to prevent this or delay the process for as long as possible. Try to avoid blending dry foods. Instead, always add some water to the mix. If you are blending a drink that requires ice, ensure that you add a small portion of ice at a time. This will not only prevent the blades from becoming bent or dull but will be better on the motor. Therefore, we are not saying that you should not blend ice in your blender, we are saying do not add too much at any one time, but instead add your ice cubes in small portions.
Also, the more liquid you put in your blender, the easier it will be to produce a vortex that will shatter the ice without impacting your blades. If your blender has many speeds, start with the lowest setting and gradually increase the speed. Moving liquid around exerts significantly less strain on the blades and engine than moving solid ice cubes.
If you are looking to have a cold drink made of crushed ice (like your ice cap), add a small amount of liquid at a time and press pulse. Between pulsing cycles, keep adding a small amount of liquid to prevent it from becoming too watering but will give you that sloshy look and taste that you desire.