
As a home blender owner, I can tell you with complete confidence that proper cleaning and care for your device is essential to making sure you get the most out of your investment. If you do not clean your blender properly, it can lead to a variety of problems. Firstly, old food particles will start to accumulate inside the blades and other crevices, making it harder to blend ingredients in the future. Additionally, bacteria and mold can start to develop in these areas if they’re left uncleaned or moist for too long. This can cause health issues as well as an unpleasant odor when using the machine. Finally, not cleaning the device correctly will also reduce its performance over time since dirt and grime can collect on vital parts such as the motor or circuit board and clog up their functionality.
Whether you’re making smoothies or soups, here are some tips to keep your blender clean and functioning properly, take it from me, they work!:
-
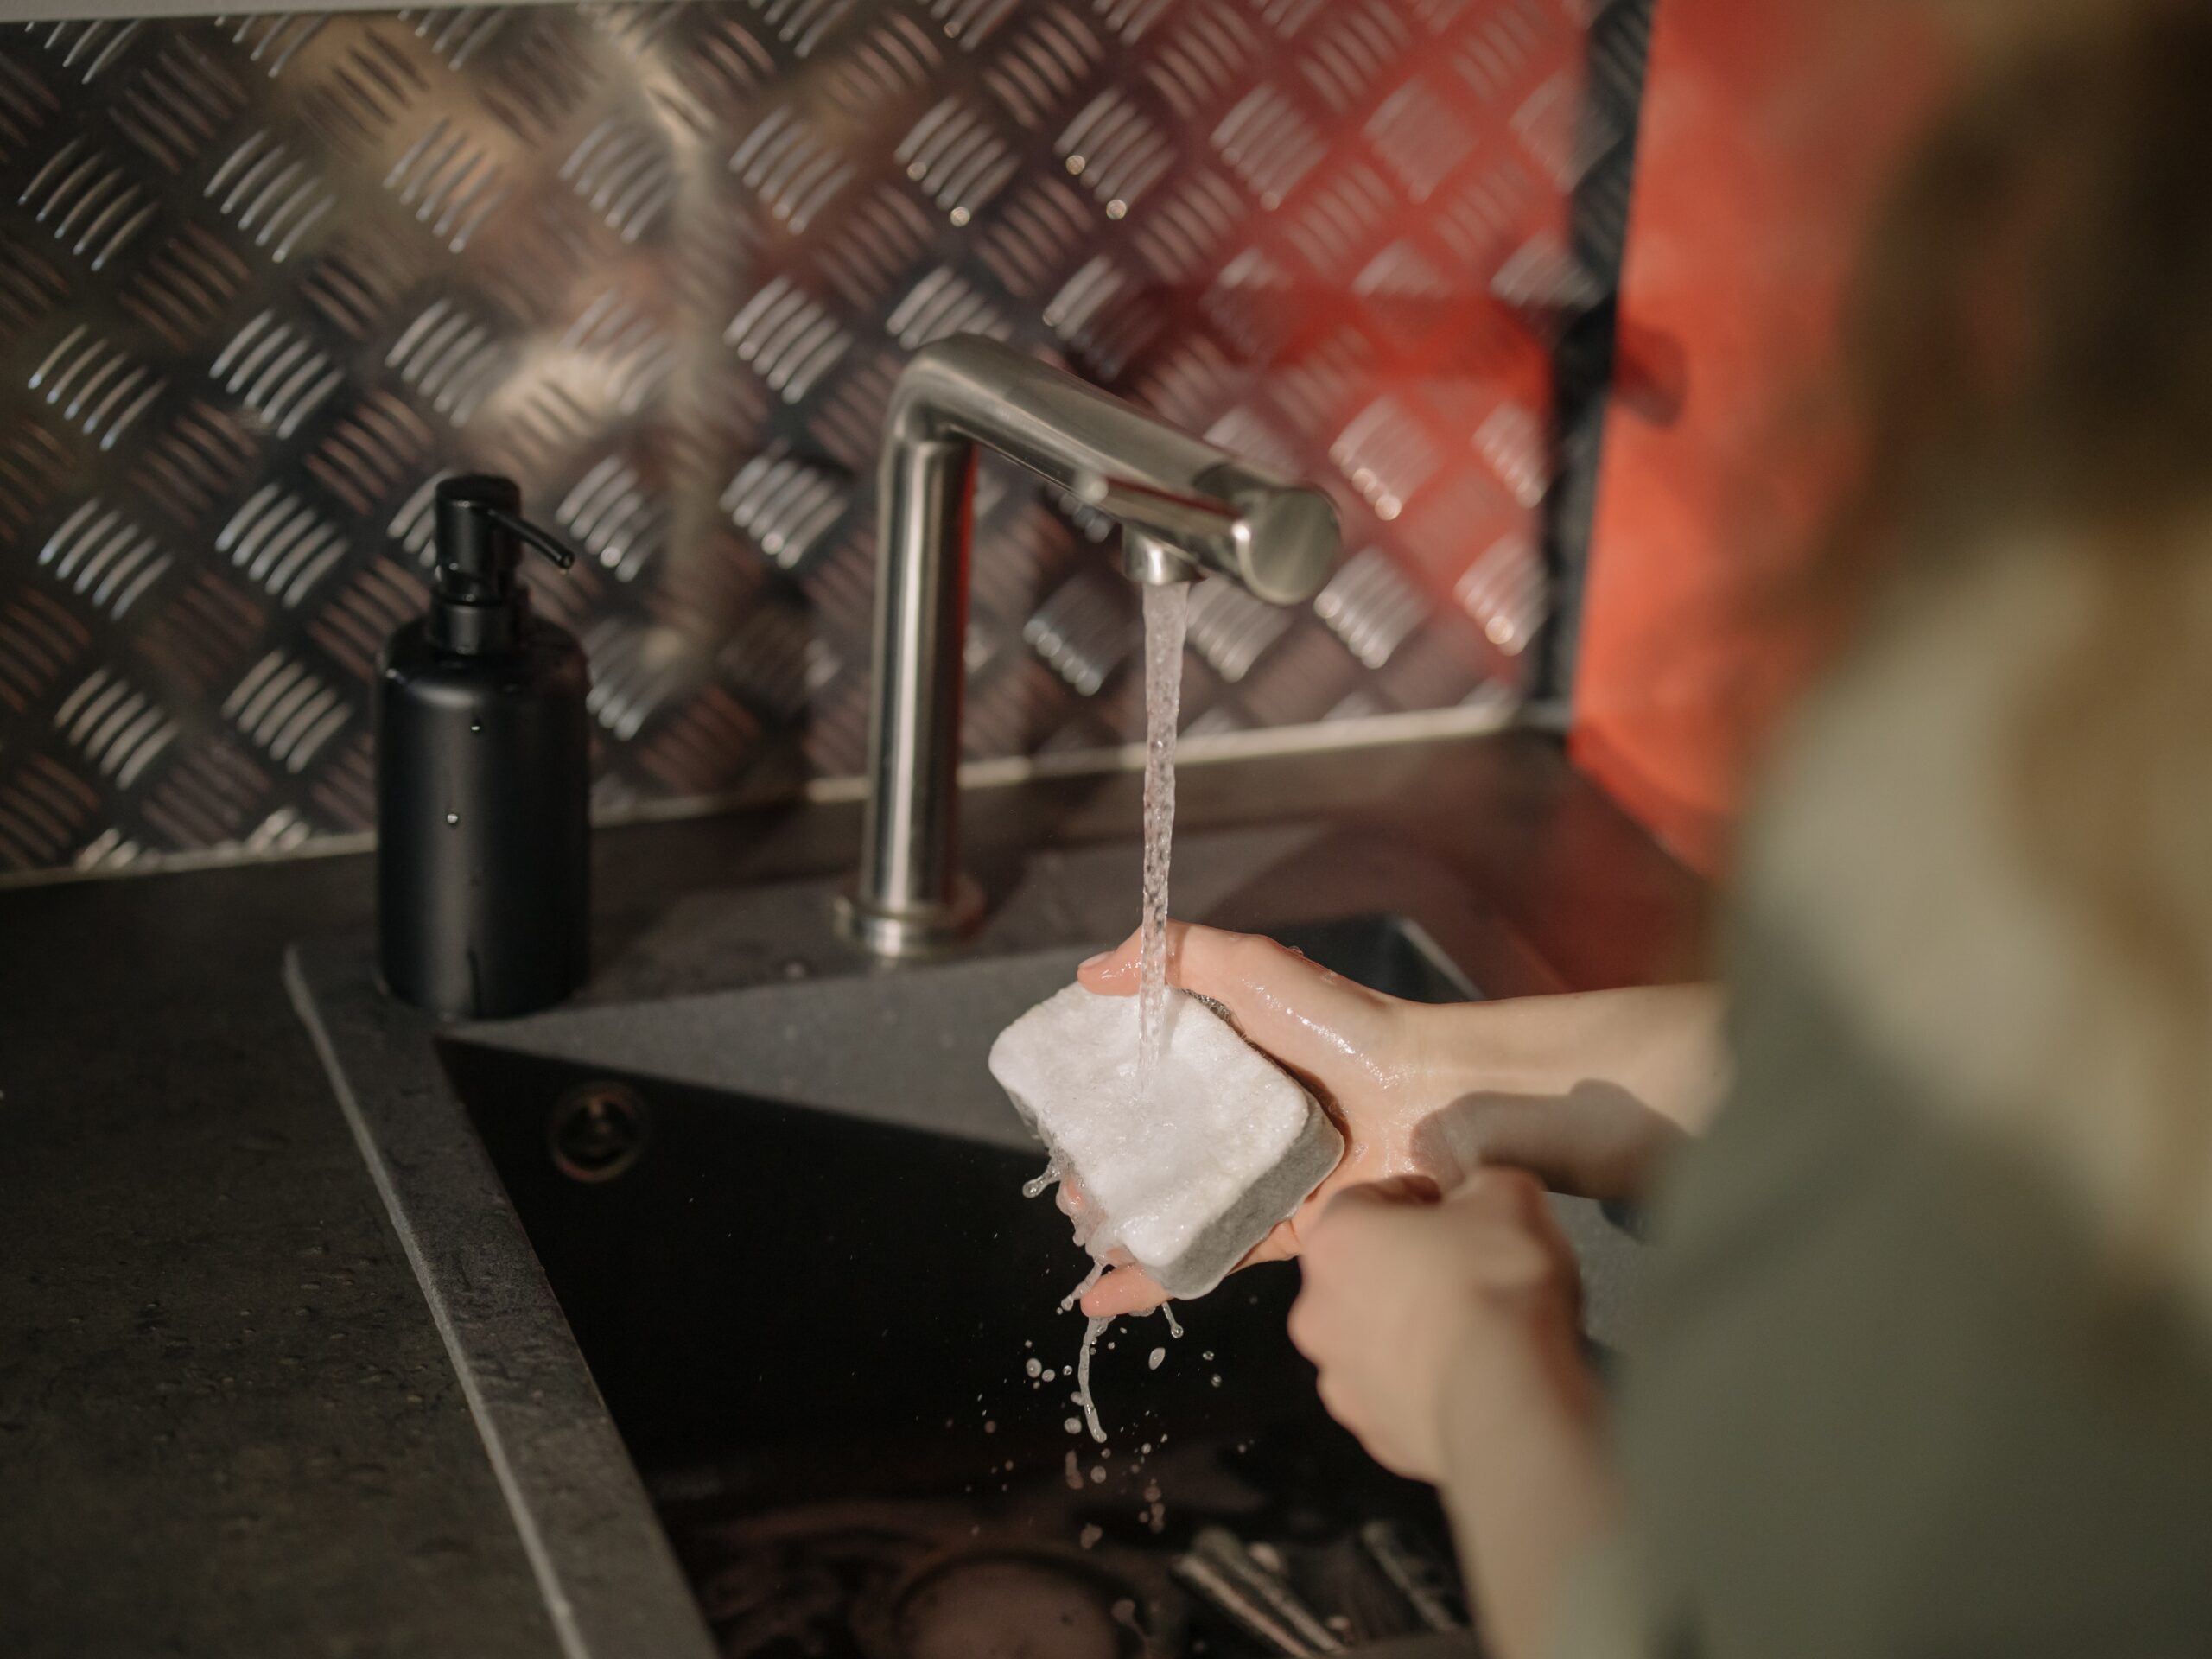
Clean right after use: The best time to clean your blender is right after using it. This simple step will not only save you plenty of work but also make cleaning much easier as the ingredients in the mixture don’t have time to solidify and dry up.
-
Use warm water and soap: Fill your blender with warm water and a few drops of liquid soap or dishwasher detergent. Turn it on at low speed for about 30 seconds so that the solution can penetrate all areas of the device. Then turn off the blender, and let it sit for about 10 minutes before rinsing it off thoroughly.
-
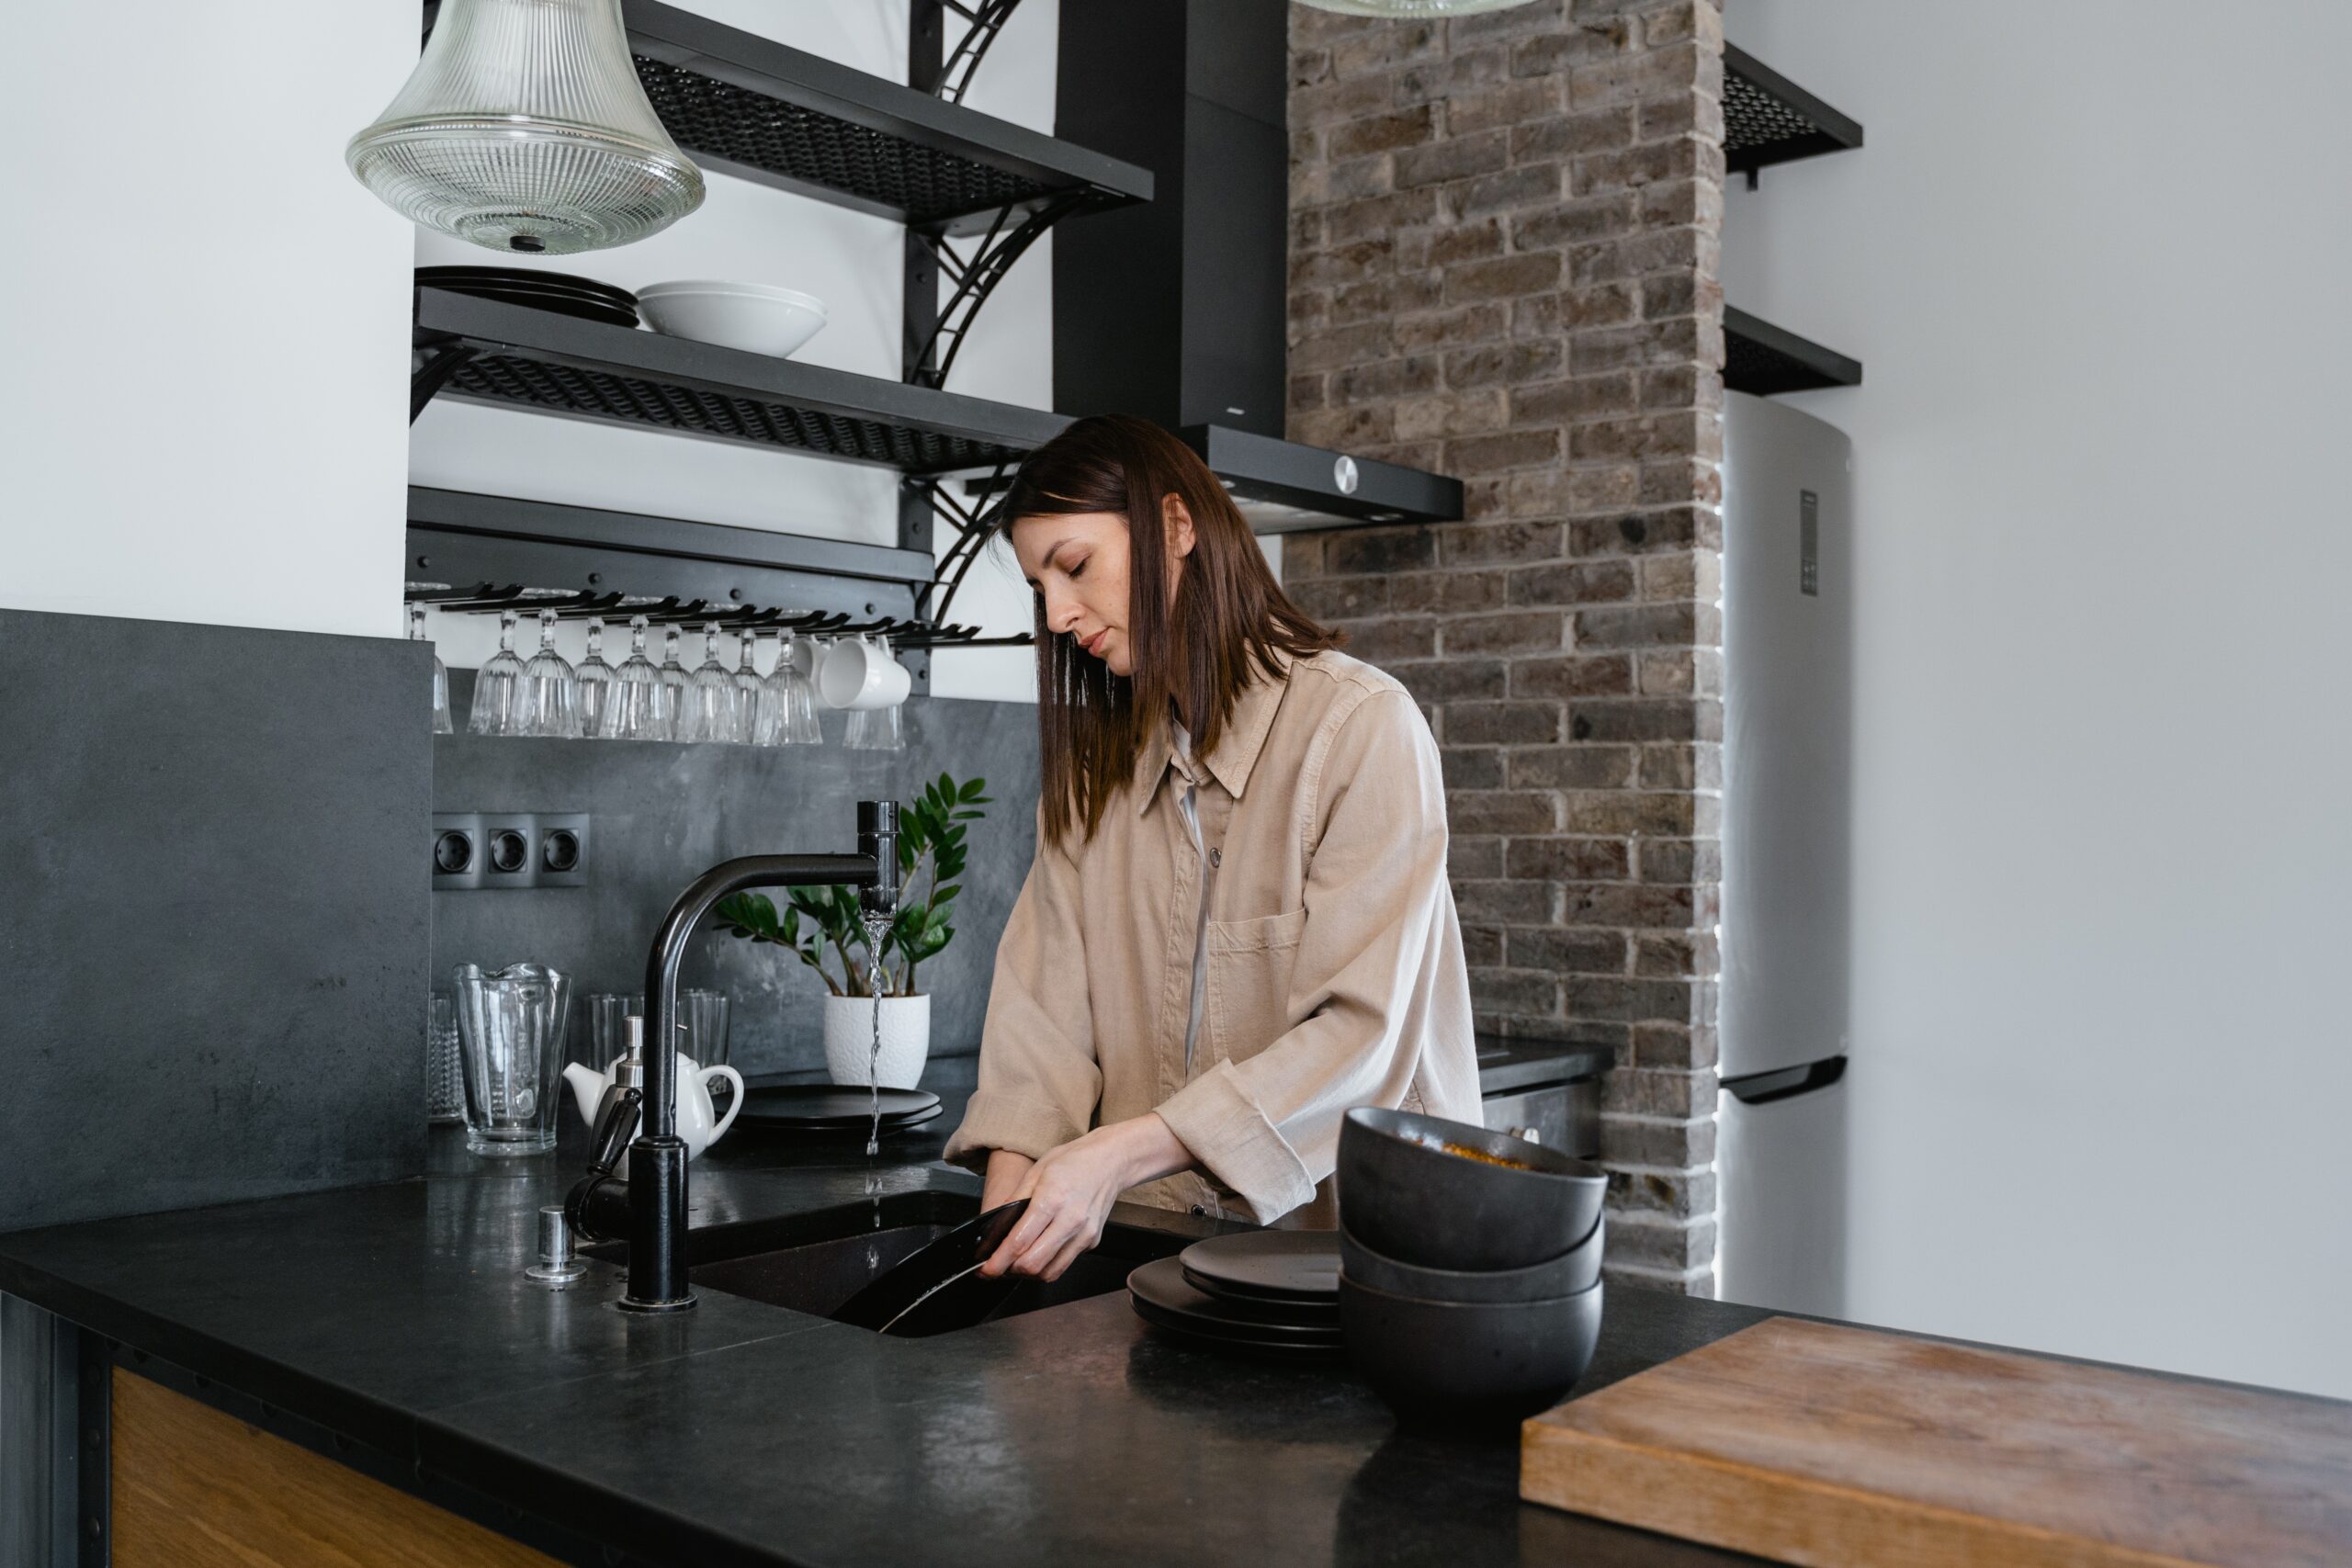
Do not submerge the base: Although some modern blenders are waterproof, many older models are not — so avoid immersing the base in water at all costs (or risk permanent damage). Instead, wipe down the surface with a damp cloth or sponge then dry it with a soft cloth afterward.
- Avoid scrubbing with abrasive pads: Since blenders are made from plastic, they can be easily scratched by abrasive cleaning pads or sponges. To avoid this, use soft sponges or brushes instead when wiping down hard-to-reach areas such as blades or crevices.
By following these steps regularly, you’ll be able to ensure that your blender lasts longer while keeping it clean and performing optimally!
Things To Remember When Cleaning Your Blender
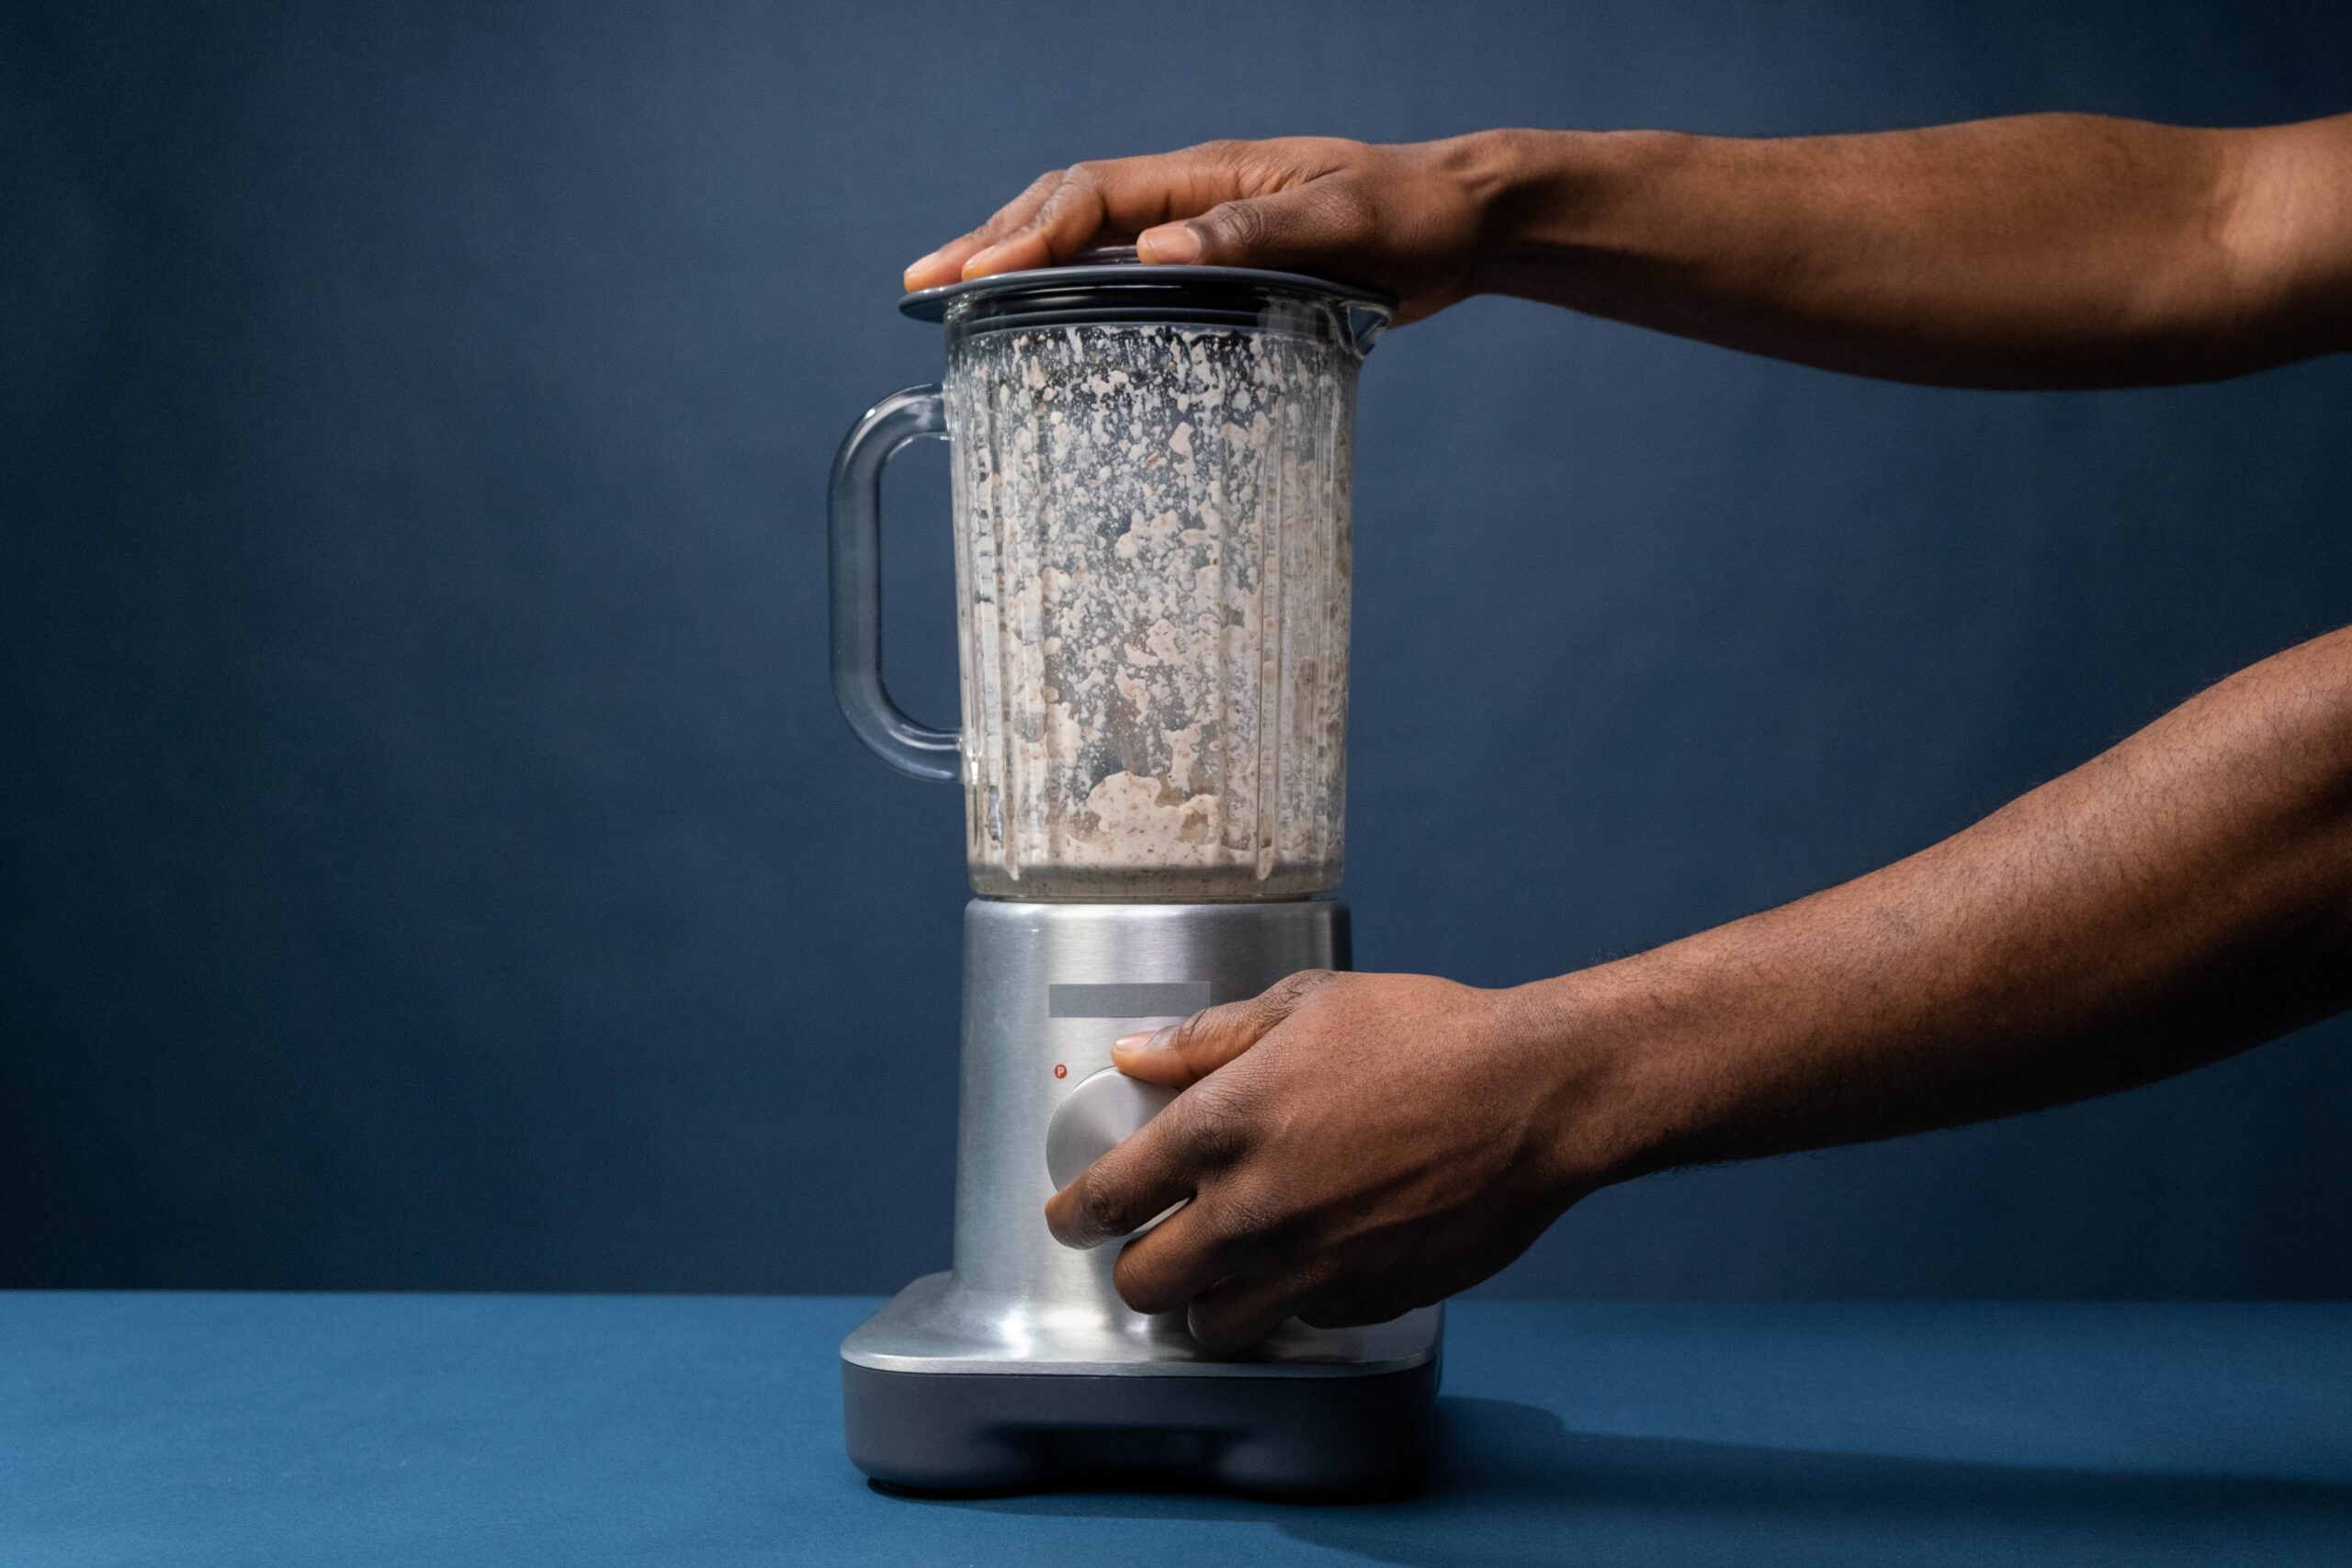
The best way to clean your blender is by first running it with some warm, soapy water. Fill the blender with warm water and a few drops of liquid soap or dishwasher detergent, then turn it on low speed for about 30 seconds. This will help to loosen and remove any particles inside. After that, let the solution sit in the device for 10 minutes before rinsing it out thoroughly. To finish up the cleaning process, use a soft cloth or sponge to wipe down any hard-to-reach areas such as blades or crevices. Be sure to dry up all parts of the device after wiping them down — this will also prevent bacteria from forming in moist areas of the blender.
Disadvantages of Not Cleaning Your Blender Properly
I learned the hard way that if you don’t clean your blender properly, it can lead to a variety of headaches. One day, I decided to make a smoothie for breakfast and grabbed my blender from the cupboard. After turning it on and blending up my ingredients, I made a terrible discovery — my smoothie tasted like moldy onions. I couldn’t figure out why until I looked inside the blender — little bits of green fungi were growing around the blades and crevices! That’s when I realized that I hadn’t cleaned it in ages, allowing mold and bacteria to build up over time. Not only had this caused an unpleasant odor and taste in my smoothie, but it was also affecting other aspects such as the machine’s performance.
From then on, I made sure to give my blender a good clean every week by running it with some warm soapy water and drying off all parts afterward. This simple step has helped me avoid any more surprise moldy smoothies in the future!
Advantages of Cleaning Your Blender Properly
Since then I’ve been a stickler for the cleanliness of my blender, which I make sure to clean every week (since I’m a regular smoothie blender). At first, it was more of a chore than anything else, but I soon realized the advantages of regularly cleaning my blender. For one thing, there are no unpleasant odors or tastes when I’m making my favorite smoothie recipes. Instead, the flavors are always fresh and vibrant like the day I bought it! Additionally, my blender works much more efficiently now that it’s clean — no more random stopping and starting or loud clanging noises during blending sessions.
My experience has taught me that regular cleaning is key when it comes to keeping your blender in top shape and performance. Not only does this process take just a few minutes out of my weekly routine, but also keeps things running smoothly in the kitchen!
How To Prevent Mold Build-Up in Your Blender
To prevent mold buildup in your blender, it is important to clean it regularly. First, make sure that any liquid ingredients you add to the blender are cold and not hot. Heat can provide a perfect environment for mold growth.
After each use of your blender, rinse it thoroughly with warm water and some dish soap and make sure all pieces are dry before storing it away. It is also important to dry off any wet blades or pieces with a paper towel or a cloth before putting them back into the blender. Regular cleaning will help ensure that no mold builds up in your appliance.
In addition, avoid adding other ingredients such as fresh fruits or vegetables that may have traces of bacteria on them, as this could lead to mold growth. Finally, if you notice any signs of mold forming on the blender’s blades or walls be sure to wash it immediately with soapy water and vinegar solution to kill off the spores.